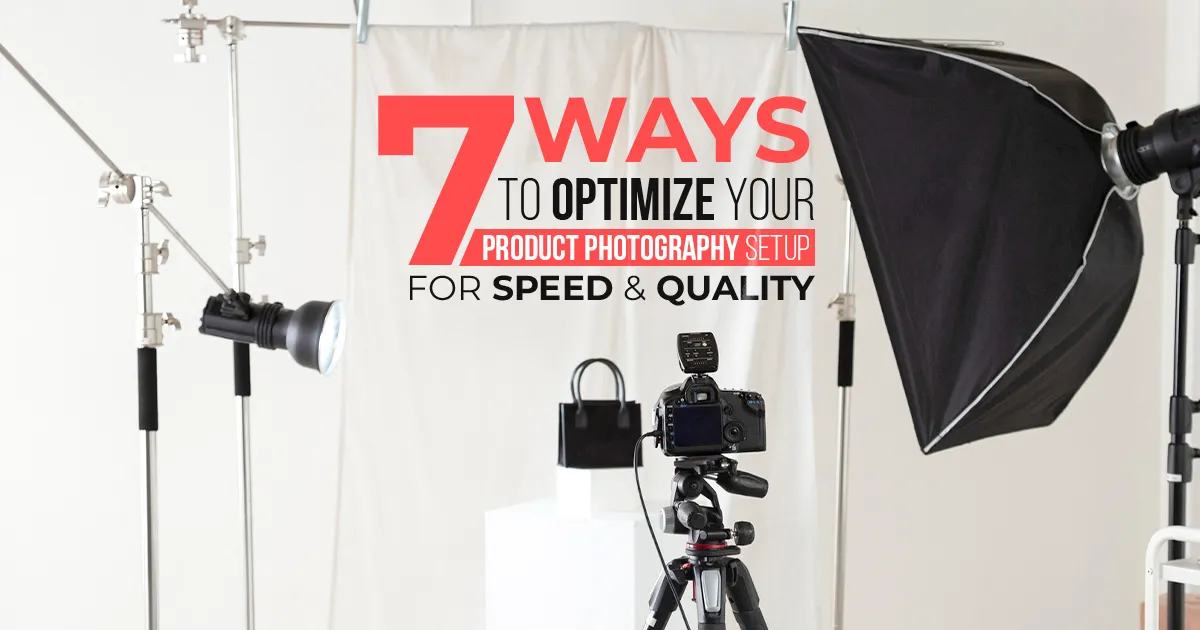
7 Ways to Optimize Your Product Photography Setup for Speed and Quality
To be honest, arranging for product photography may often feel like you're creating a spaceship just to take a picture of a mug, doesn't it?
But here’s an interesting fact for you-
75% of internet buyers think product images are what strongly convince them to select "buy" rather than "bye".
You can guess the importance of a perfect product photography setup already, I believe.
If your photos seem boring, gloomy, or inconsistent, customers may even scroll past faster than you could say "add to cart,". So, to stand with your business online, optimizing your product photography setup for speed and quality is not only a nice-to-have. It is essential!
The good news? You don’t need a Hollywood studio or a suitcase full of cash to get professional results.
Even if you use your living room table as a studio, you can take great product photos that help you sell more by setting things up well, using good lighting, and trying some simple tricks. So, are you ready to make your products look irresistible? Let's explore the finest approaches to maximize your product photography setup for quality and speed!
What is Product Photography Setup?
Product photography is the arrangement of everything to produce clear, appealing images of things, like the ones you see on online stores that make you want to buy instantly. Think of it as creating a mini stage where your product becomes the star.
For example, imagine you’re shooting a coffee mug. You can put it on a wooden table with a simple background, use soft light source to show its shape, and add a small coffee spill or steam to make it feel cozy. This setup can catch people’s attention and tell a story clearly.
In fact, professional product photos can increase online sales by up to 30% because people trust aesthetically pleasing images more. So, good photography can simply make your goods attractive rather than only appear nice.
Don’t worry if it sounds complicated. Even a simple setup with a table, white background, and natural light can work wonders; about the rest of the things? The whole blog is going to describe everything you need, so all you have to do is keep going!
What is the Purpose of A Product Photography Setup?
A product photography setup is basically about building the ideal situation so that your product shines out clearly. Ultimately, this setup highlights details and helps consumers to easily understand exactly what they are getting. Now, let’s break see why a good product photography setup is necessary -
- Showcase the Product Clearly: A proper setup guarantees that your product looks sharp and star of the image. Whether you’re doing DIY product photography or using professional product photography services, neat images let consumers know exactly what they are getting after buying.
- Highlight Important Features: The setup helps emphasize unique details like textures, colors, or logos. For a coffee mug, for instance, bright product photography lighting may highlight its sleek design and glossy finish, thus appealing to consumers.
- Create a Professional Look: A clean background and proper lighting make your photos look polished and trustworthy. This professionalism can ultimately boost your brand’s image and quality, which is why many opt for a reliable product photography service.
- Build Customer Confidence: Do you know that 90% of online shoppers claim photos are “very important” to their buying decisions? Excellent, high-quality product photos remove uncertainty and inspire consumers to click "buy".
- Save Time and Effort: A well-planned setup means fewer retakes and easier editing later. It’s like setting up a cooking station before you start—everything flows smoothly, and you avoid messy mistakes.
- Tell a Story or Set a Mood: Sometimes the setup includes props or backgrounds that show the product in use, like a steaming mug on a cozy table, helping customers imagine it in their lives. This is the essence of lifestyle product photography, making the product more appealing to audiences.
Essential Equipment for Product Photography Setup
Having the correct equipment is essential for making your photos professional and appealing. So here’s a list of essential gear that will help you create stunning product images and take your business to another level -
Camera
Of all the tools in your setup, your camera is the most crucial one. Although professional photographers usually use DSLRs or mirrorless cameras. The key is to capture sharp, clear images that show your product’s details. If you take photography seriously, investing in a DSLR with a macro lens for close-up shots can make everything easier.
Tripod
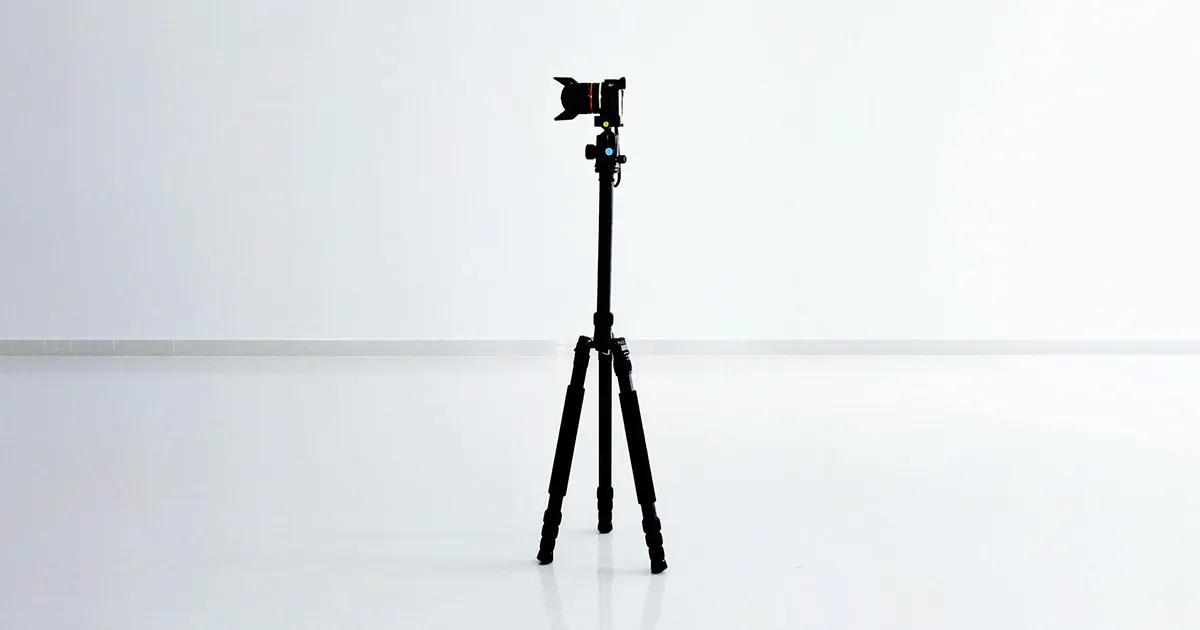
A tripod is like your camera’s best buddy. Especially in low studio lights or utilizing slow shutter speeds, it keeps your camera stable so that your images come out clear. It also helps maintain constant framing, so all of your product images seem uniform. Think of attempting to balance your phone on a book stack—yes, a tripod is far more dependable and less taxing!
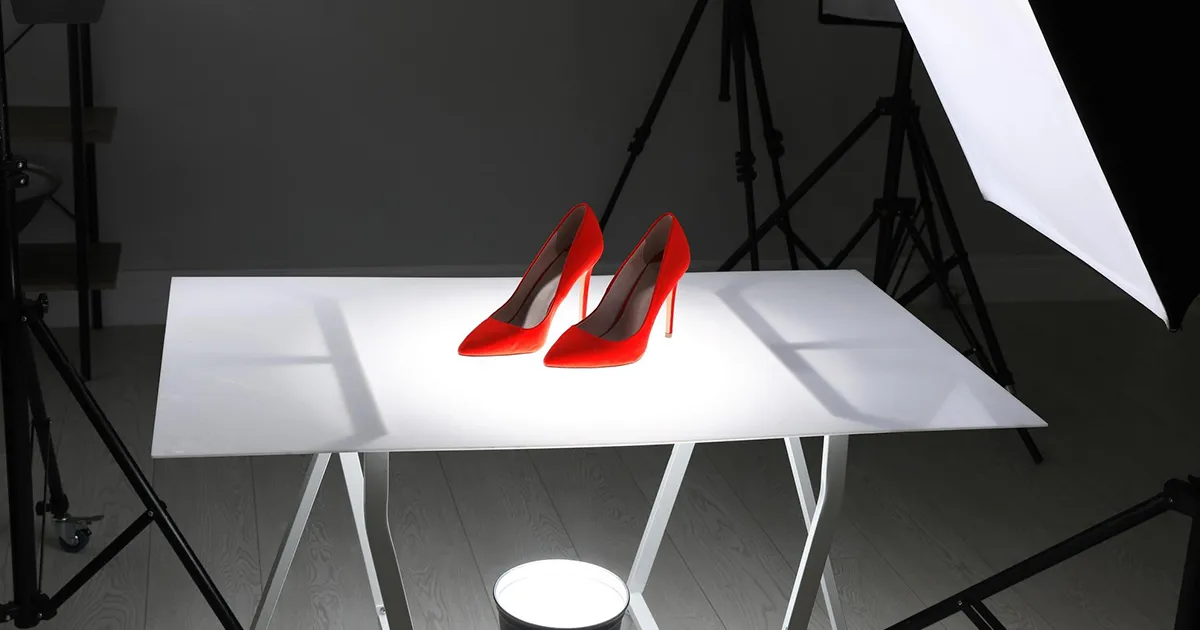
White Background
Your products will stand out better if you use a clean background as post production element. White is the best choice because it helps people focus on the product. You can use white poster boards, foam boards, or a big piece of paper or fabric that curves smoothly from the surface your product is on up to the wall behind it. This curve creates a lovely, smooth appearance and avoids strong lines or shadows.
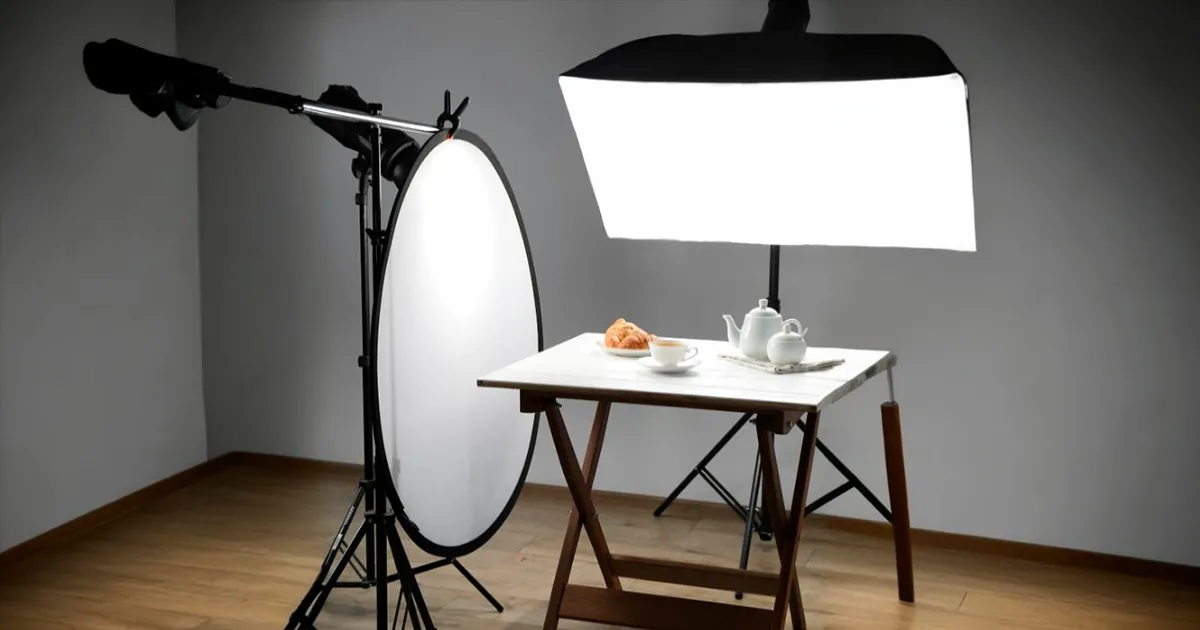
Lighting

Believe it or not, but lighting can either enhance or destroy your pictures. Natural light is free and beautiful, so you can set up your shoot near a big window with indirect sunlight for soft, even lighting. But if you want more control or shoot indoors at any time, invest in softbox lights or continuous LED lights. Just don't use your camera's built-in flash, it's too bright and makes annoying reflections.
Light Diffusers and Reflectors
Diffusers soften the light, making it less harsh and more flattering. You can buy professional diffusers, use white cloth or parchment paper in front of your light source. Mainly, reflectors fill up shadows by bouncing light back onto your creation. A white foam board or even a piece of white cardboard works perfectly as a DIY reflector by producing well-balanced illumination that highlights the texture and color of your goods.
Table or Surface
A sturdy table or flat surface is where you’ll arrange your product and background. The width of your shot will determine the size; a 24 to 27-inch wide table works well for most small to medium products. To enable simple camera and light adjustment, make sure it is steady and at a comfortable height.
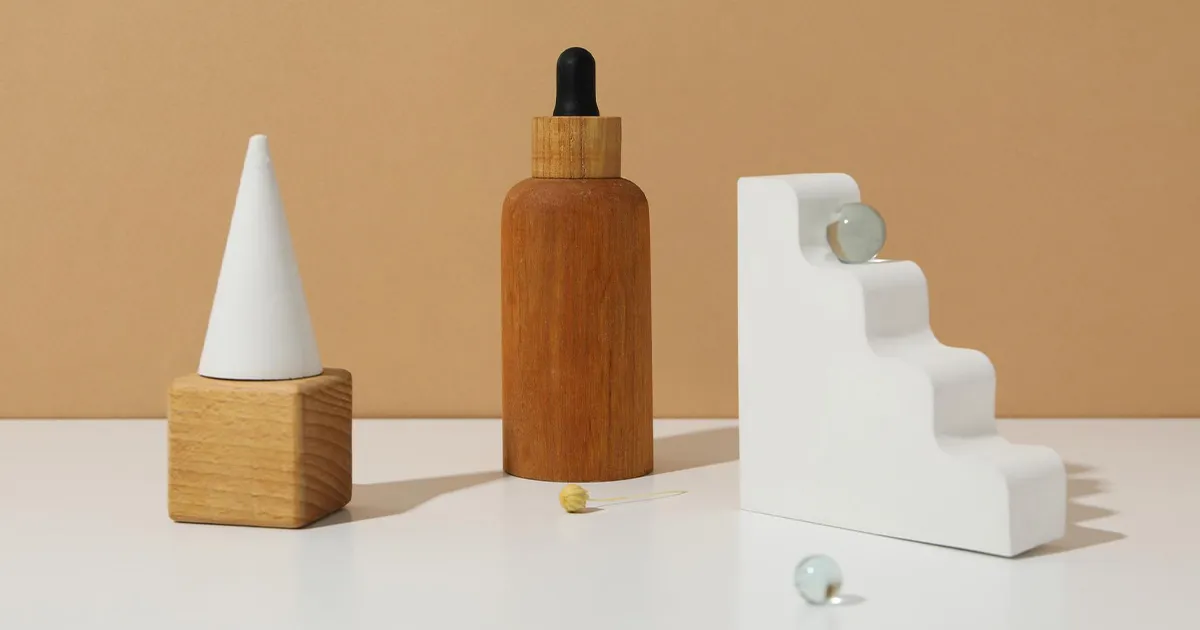
Props (Optional)
Props add personality and context to your product photos. For instance, placing coffee beans next to a mug or a plant beside a skincare product can tell a story and make your image more inviting. Just keep in mind that the product needs to be the star constantly. So, try to simplify your props and make them meaningful to prevent drawing attention.
7 Ways to Optimize Your Product Photography Setup for Speed and Quality
Taking excellent and high-quality product photos sometimes seems like quite a difficult process. So here’s the good news: you can do everything with a few clever moves in your product photography setup. Keep reading because this section will certainly help you to create stunning images efficiently -
Learn Basic Photo Editing Methods
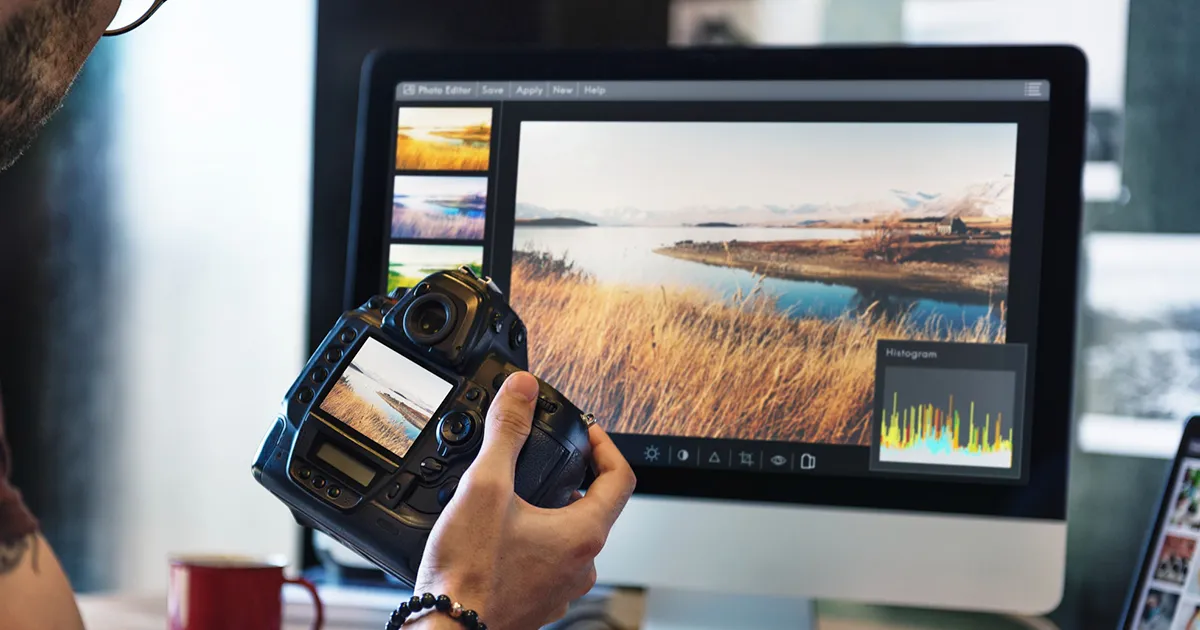
Even the greatest images often require some simple editing. Simple changes like cutting parts out, adjusting light and dark, and fixing colors can make a plain photo look amazing! You can also learn basic editing styles like lifestyle product photography or classic studio pictures.
Software like Snapseed or Adobe Lightroom has batch editing features to enable the same edits on multiple photos at once. So you can easily maintain the original colors and characteristics of your products to help consumers acknowledge what they are purchasing, ensuring your photography products look true-to-life.
Create a Product Image Template
Your best buddy is a template if you take pictures of similar items frequently. It ensures that every shot has the same product photography background, lighting, and camera settings, much like a photographic blueprint would.
After setting up your white background and product photography lighting once, mark the precise areas for your camera and goods using tape or stickers. This way, you can rapidly replicate the setup for every shot, save time, and preserve consistency.
Optimize Your Images for the Web
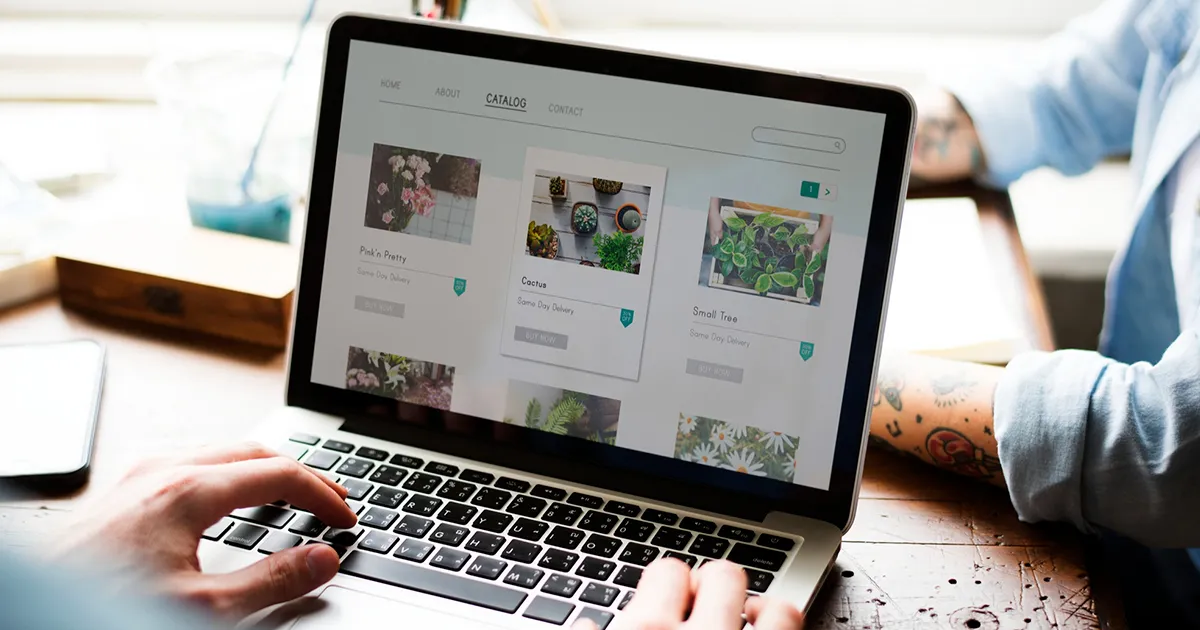
Customers may bounce away from your website even if your accessories photography is really beautiful, but it loads slowly. So save your images in web-friendly formats such as JPEG or WebP, following modification.
Also, make your photos smaller without losing quality by using tools like TinyPNG or Photoshop’s “Save for Web”. Try to keep each file under 200 KB so your website loads faster. Add alt text and rename your photo files with keywords that describe your product. This helps more people find your items in search engines.
Try Different Types of Product Photography
Variety keeps your product photos interesting and helps you connect with different buyers. So experiment with multiple angles, 360-degree views, and close-ups to showcase your photography product in the best light.
- Lifestyle Shots: Show products in real-life settings. A cozy tea cup on a kitchen table with steam rising tells a story and makes customers imagine using it in their daily life as well—this is the essence of lifestyle product photography.
- 360-Degree Views: Interactive images let customers rotate the product, therefore increasing confidence and lowering returns. This type of professional product photography is becoming standard for online stores.
- Close-Ups: Highlight textures, logos, or unique details that make your product special. Adjust your camera settings and use proper product photography lighting to capture these details.
Also, mixing styles can make your product pages more engaging and help you stand out from competitors. Whether you use natural light, artificial lights, or studio lights, each approach brings out different aspects of your photography products.
Use Natural Light Whenever Possible
Natural light is free, pleasing, and simple to use. You can build your product photography setup near a large window with indirect sunlight to get soft and natural lighting. But try to avoid direct sunlight, which can create harsh shadows and blown-out highlights. Adjust your white balance to coordinate your light source for a similar result. You may invest in reasonably priced softbox lights or LED panels to replicate that soft, diffused feel in case natural light is not accessible. Good lighting speeds up your work and lessens the need for intensive editing, ensuring the highest quality image.
Automate File Transfers and Backup
Undoubtedly, losing your hard work is a nightmare you don’t want, right? So use applications that instantly download images to your mobile or tethered shooting, connecting your camera to a computer. This prevents file loss and enables you to rapidly check pictures. Also, back up your photos regularly to cloud storage or external drives.
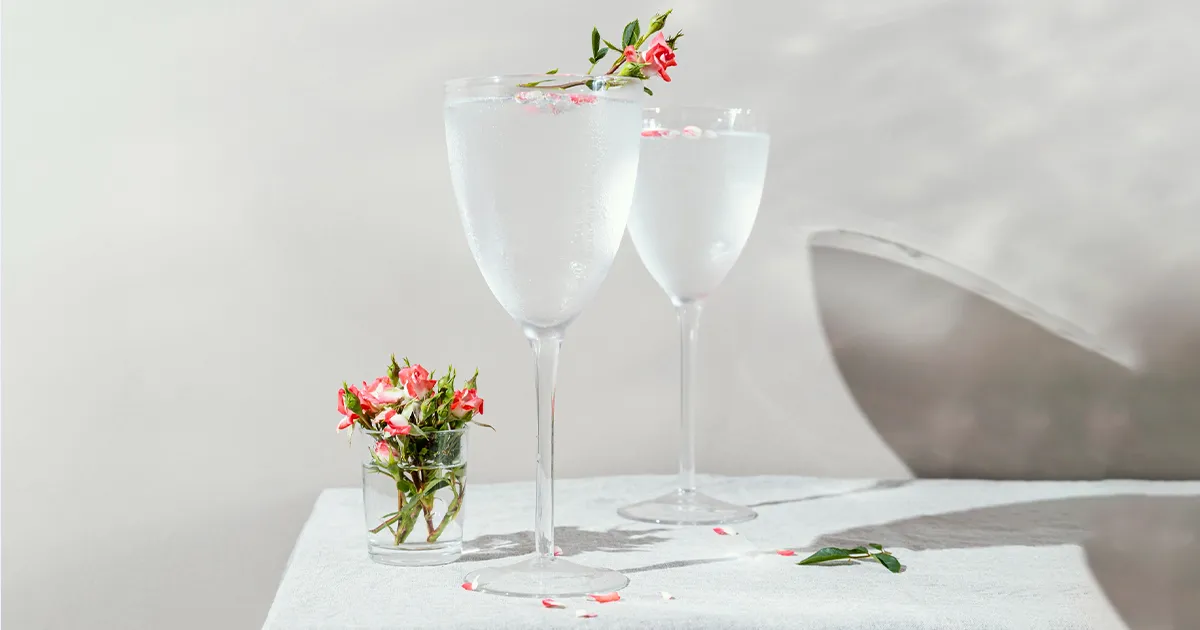
Use Props Wisely to Tell a Story
Your photos will look better if you add simple, related items like fresh flowers next to a skincare product or coffee beans next to a mug.
For example, a small online jewelry shop used a set way to take pictures, added simple props, and did some basic editing. In just 3 months, their sales went up by 25%. This shows that good product photography services really help.
Remember, the first thing customers see is your product pictures, so make them look nice quickly and easily!
Expert Product Photography Setup Tips
As you already know, professional, clean photos help to establish confidence and greatly increase your sales. So, if you wish to optimize your product photography setup for speed and quality, then this section is for you! Keep going -
- Use Polarizing Filters to Reduce Reflections: For shiny or glass objects, a polarizing filter on your camera lens helps to reduce unwanted reflections and glare. This basic tool allows for capturing more exact details and avoiding distracting bright spots.
- Backlighting Experiment for Dramatic Effects: Backlighting gives your images more dimension and helps them to stand out from standard flat lighting configurations. You may try placing a light source behind your product to create a glowing outline or highlight transparency.
- Add Color Gels on Lights for Mood: Using colored gels over your lighting will help your photographs to add subtle tints or moods. A soft blue gel can create a cool, modern vibe for tech gadgets, while warm amber tones work well for cozy lifestyle products, so use them wisely.
- Use a Light Tent for Small Products: It’s a compact, affordable tool that instantly improves image quality. You can consistently diffuse light around objects like electronics or jewelry to reduce harsh shadows and reflections with a light tent.
- Multiple Angles and Heights Utilization: Try overhead, low-angle, or close-up macro shots to showcase different product features. This diversity keeps your listings fresh and helps consumers better understand your offering.
- Use a Remote Shutter Release: Using a remote shutter or timer will help to prevent camera motion. For macro photographs or long exposures specifically, this guarantees clear, blur-free images.
- Plan for Seasonal or Themed Shoots: Create setups with relevant props and background that match holidays or seasons, like cozy winter or bright summer. This maintains the freshness of your product pictures and attracts more potential customers all over the year.
Hiring A Studio for Photography vs. DIY (Do It Yourself)
In case you’re still wondering which option would be the best, here’s a clear comparison outlining the differences between Hiring A Studio for Photography vs. DIY (Do It Yourself) to choose your perfect option:
FAQ
Popular post:
- Softbox or Umbrella for Product Photography? Choose the Best One!
- Flatlay vs. Lifestyle Photography: Which is Best for Branding?
- 20+ Amazing Picnic Photoshoot Ideas to Try in 2025
- The Power of Ghost Mannequin Imagery: How it Affects Your Sales Increase?
- Top 20 Mistakes Apparel Brands Make in Product Photography
- 7 Ways to Optimize Your Product Photography Setup for Speed and Quality
- Why Product Photography Needs to Tell a Story
- How Professional Product Photography Can Increase Your Sales
- Professional Product Photography Tutorial: DIY at Home
- Maximize Your Productivity with Professional Photography Tips